Chemistry Experiments: Safe, Useful Activities for Students
Get safe chemistry experiments students can use to explore reactions, pH, separation, and evidence with adult supervision and stronger study habits.
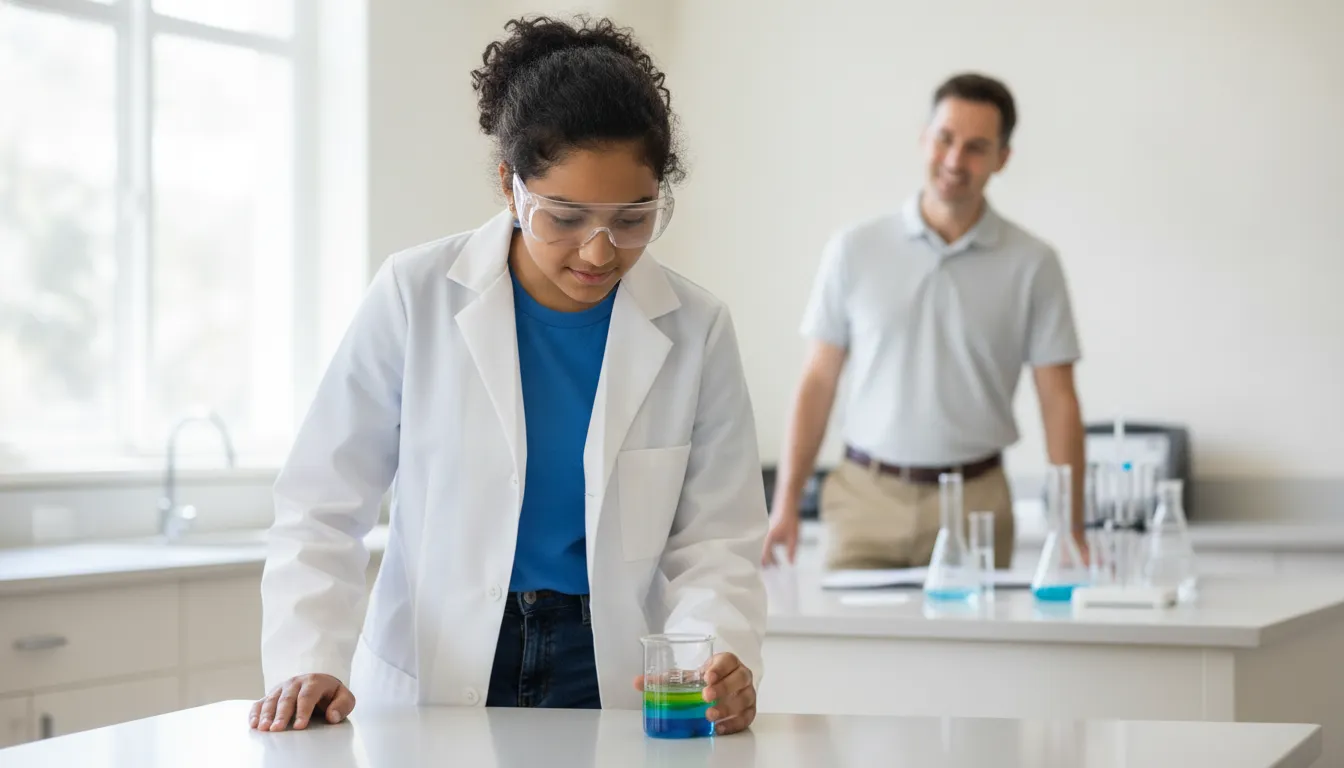
Chemistry experiments are most useful when they help you answer a question, collect evidence, and explain what happened. A colorful reaction can capture your child’s attention, but the deeper learning comes from connecting an observation to particles, energy, concentration, acidity, or another chemistry idea.
Call (404) 779-8999 to discuss chemistry support.
This guide focuses on lower-risk, small-scale activities that can support middle-school and high-school chemistry learning. They are not a substitute for a school laboratory, a teacher’s directions, or a formal safety review. An adult should supervise every activity, read product labels, use only the materials named in the plan, and stop if the setup is unclear.
What makes a chemistry experiment useful for learning?
A useful activity has a question, a controlled change, an observation, and an explanation. For example, instead of asking a student to “make a volcano,” ask, “What evidence suggests that a gas formed when these two materials reacted?” The second question leads to better notes and a more accurate explanation.
Before starting, have your student write four lines:
- Question: What are we trying to find out?
- Prediction: What do we expect, and why?
- Evidence: What did we see, measure, or compare?
- Explanation: What chemistry model accounts for the evidence?
That structure keeps an activity from becoming a demonstration with no transfer to classwork. It also gives a tutor or teacher something concrete to review. If your student is still unsure about the underlying course concepts, compare this hands-on approach with Northside’s chemistry tutoring, the AP Chemistry tutoring service, and the broader science tutoring options.
Start with safety, not the reaction
“Household” does not mean “risk-free.” A material can irritate eyes or skin, create pressure in a closed container, stain surfaces, or become unsafe when combined with another product. Choose a clear workspace, tie back long hair, wear properly fitting splash goggles, wash hands after cleanup, and keep food and drinks away from the activity.
The American Chemical Society’s safety material says students and teachers should wear properly fitting goggles during preparation, hands-on work, and cleanup, and should review labels and safety information for the materials used. Its chemistry activity safety information is a useful reference for planning. The National Science Teaching Association also emphasizes that nothing should be tasted or eaten as part of science lab work. Treat every activity as lab work even when the materials came from a kitchen.
- Use small quantities and open containers. Never seal a reacting mixture in a bottle, jar, balloon, or test tube unless a qualified teacher has provided that exact procedure.
- Do not mix cleaners. Keep bleach, ammonia, drain cleaner, fuels, and unknown products out of student activities. Do not use a household product just because an online demonstration mentions it.
- Do not taste anything. Use separate cups and tools for activities, not items that will return to food preparation.
- Plan disposal first. Follow the label, teacher directions, local rules, and any applicable safety data sheet. Do not pour an unknown mixture down a drain.
- Stop for uncertainty. If a student gets a material in an eye or on skin, follow the product label and seek appropriate medical or poison-control guidance rather than improvising.
Six lower-risk chemistry experiments for students
The activities below are starting points for supervised learning, not universal lab instructions. Use the simplest materials available, keep the quantities small, and adapt the activity to the student’s age, course, and teacher’s rules.
1. Make a red-cabbage pH indicator
Question: How does an indicator help us compare acidic and basic solutions?
An adult can prepare a red-cabbage indicator in advance, or a teacher can provide one. Place small amounts of the indicator in separate clear cups and compare a few drops of mild, known household liquids such as lemon juice, vinegar, and a baking-soda solution. Record the starting color, the added material, the color change, and what the change suggests about acidity or basicity. Do not treat color as an exact pH measurement without a calibrated reference.
What it teaches: Indicators change color across a pH range; a color change is evidence that the solution’s acid-base conditions differ. The activity also gives students a reason to distinguish an observation (“the liquid turned pink”) from an inference (“the sample is more acidic than the starting solution”). For an age-appropriate example of indicator work, see the ACS indicator activity.
Safety gate: Avoid bleach and other cleaners. If hot water is used to prepare the indicator, an adult should handle it and allow the liquid to cool before students work with it.
2. Observe gas formation with citric acid and baking soda
Question: What observations support the claim that a gas formed during a reaction?
In an open cup, combine a small amount of water with citric acid and baking soda, one at a time according to the teacher’s directions. Students can record fizzing, temperature changes if they have an appropriate thermometer, and what remains after the bubbling stops. The goal is not a large foam display. The goal is to explain why bubbles are evidence of gas production and why an open setup matters.
The ACS lesson on producing a gas with citric acid and sodium bicarbonate uses goggles, label review, handwashing, and careful disposal. It also makes a useful distinction between reactants and products. Never cap or stopper this reaction, and never increase quantities to make a bigger demonstration.
3. Separate marker pigments with paper chromatography
Question: Is a dark marker ink made from one color or several pigments?
Draw a small ink dot near the bottom of a strip of coffee-filter paper or chromatography paper. Suspend the strip so the bottom touches a shallow amount of water without submerging the dot. As the water travels up the paper, watch whether the ink separates into bands. Compare a few washable markers and keep the paper strips for a class discussion.
What it teaches: A mixture can contain multiple substances, and those substances can travel at different rates through a medium. Students can compare color bands without claiming that the activity identifies every pigment. This is a helpful bridge to separation techniques and to the broader idea that a visible sample may contain more than one substance.
Safety gate: Use washable, labeled classroom materials. Do not substitute permanent markers, solvents, or unknown inks at home. Keep the setup away from food and wash hands afterward.
4. Compare density and miscibility with oil and water
Question: Why do some liquids form layers instead of mixing?
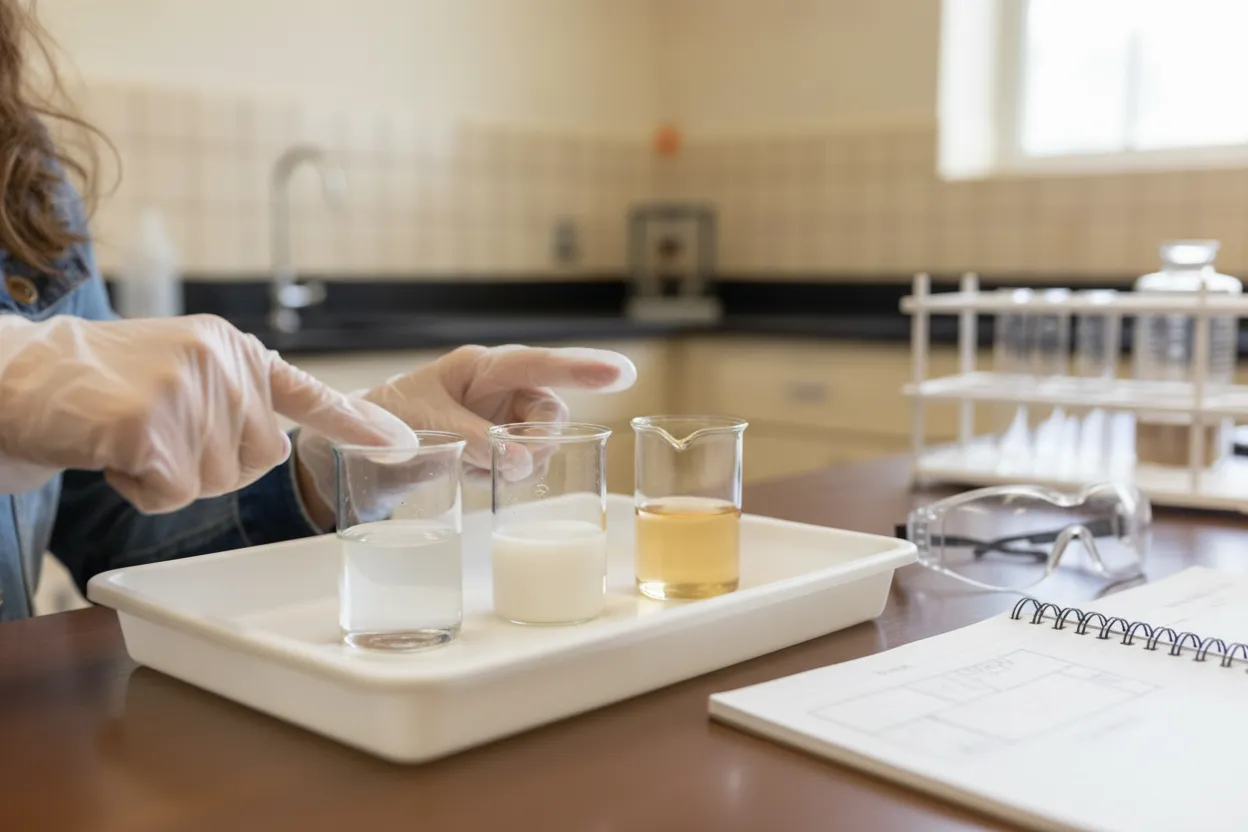
In a clear container, add water and a small amount of cooking oil, then allow the liquids to settle. Students can add a drop of food coloring to the water layer and observe which layer changes. They can draw the container before and after gentle mixing and then explain why the layers return. This is a useful way to discuss density and miscibility without pretending that every visible layer is evidence of a chemical reaction.
What it teaches: Physical properties can help identify and compare substances. The activity also reinforces a key chemistry habit: decide whether the evidence points to a physical change, a chemical change, or an observation that needs more testing.
Safety gate: Do not taste the materials after the activity. Keep all materials in the activity container and dispose of them as directed by the adult supervising the setup.
5. Grow salt crystals through controlled evaporation
Question: How can dissolved material return to a solid crystal?
An adult can prepare a salt solution using warm water and place a small amount in a labeled, shallow container. Students observe the container over time and record when crystals appear, how their shape changes, and what happens as water evaporates. Compare a covered sample with an uncovered sample only if the supervising adult has a safe, clean setup and a clear disposal plan.
What it teaches: Dissolving does not necessarily destroy a substance. Evaporation can leave dissolved material behind, and the conditions for crystal growth affect what students observe. It also gives students practice recording time and appearance without turning the result into an unsupported claim about purity or crystal structure.
Safety gate: No tasting. An adult should handle warm water, keep the container away from pets and young children, and dispose of the solution after the observation period.
6. Compare reaction rates with an effervescent tablet
Question: How does water temperature affect the time required for a visible reaction to finish?
With adult supervision, place equal pieces of an effervescent tablet into separate open cups of cool and room-temperature water. If the teacher approves and the adult can control the setup, a warm sample can be compared as well. Keep the tablet pieces and water volumes as consistent as possible, start timing at the same point, and repeat the comparison rather than treating one trial as a rule.
What it teaches: Temperature can affect how quickly a process occurs, but a fair comparison requires controlled variables. Students can distinguish a faster visible bubbling rate from a claim about the reaction mechanism, which may require additional evidence and course-level instruction.
Safety gate: Use open cups, never a sealed container. Do not use hot water that could burn a student, and do not ingest the used materials.
Turn the activity into a study session
The experiment is only the first pass. After cleanup, ask your student to complete a short lab reflection:
- Describe: What changed, and what stayed the same?
- Represent: Can you draw a particle-level model or write a simple equation without inventing details?
- Explain: Which observation supports the conclusion, and which part is still uncertain?
- Transfer: Where might the same idea appear in class, such as equilibrium, acids and bases, intermolecular forces, or reaction rates?
Students should also label the limits of the activity. A red-cabbage color comparison is not a calibrated pH reading. Bubbles show gas formation, but they do not by themselves identify every product. A faster tablet reaction does not prove every detail of a rate law. These limits are not failures; they are opportunities to practice scientific reasoning.
If organization is the main barrier, Northside’s executive functioning coaching can complement subject support by helping a student plan materials, record observations, and review the result. For a chemistry-specific study plan, the chemistry tutor guide and AP Chemistry tutor guide explain how to evaluate support around concepts, problem solving, and course demands.
Which activity fits your student’s course?
| Student need | Good starting activity | Core idea to review | Best follow-up question |
|---|---|---|---|
| Noticing evidence of a reaction | Citric acid and baking soda in an open cup | Reactants, products, gas formation | What observation supports the claim that a new gas formed? |
| Confusing acids and bases | Red-cabbage indicator comparison | Indicators and pH ranges | What can color suggest, and what can it not prove? |
| Mixing up mixtures and pure substances | Paper chromatography | Separation and physical properties | Why did some pigments travel farther than others? |
| Struggling with physical versus chemical change | Oil and water or salt crystallization | Properties, dissolving, evaporation | Did the identity of the material change? |
| Needing practice with fair tests | Effervescent-tablet rate comparison | Variables, timing, repeated trials | Which variables were controlled? |
For a student in AP Chemistry, an activity should lead back to the course model rather than replace it. Northside’s online AP Chemistry tutoring guide and organic chemistry mechanisms study guide can help families identify the difference between general interest, course review, and a targeted support need.
When should a student get help beyond an experiment?
Hands-on work can reveal a gap that a worksheet hides. Your student may benefit from targeted support if they can describe what happened but cannot explain it with the course model, repeatedly confuse physical and chemical changes, cannot set up a fair comparison, or copy a procedure without knowing what evidence to collect. The next step is not automatically a harder experiment. It may be a focused lesson, guided practice, or feedback on a lab explanation.
When comparing providers, look for a plan that connects observations to class assignments and upcoming assessments. Northside’s guides on chemistry tutoring services, hiring an online chemistry tutor, and finding a good online chemistry tutor offer questions families can use. You can also review the current pricing information and request a conversation through the contact page.
Book a Consultation for Chemistry Support
Frequently asked questions about chemistry experiments
What is the safest chemistry experiment for a student to start with?
Start with a small, open-container observation using labeled, low-risk materials and direct adult supervision. Paper chromatography or an oil-and-water comparison can be easier to control than a reaction. The safest choice depends on the student’s age, allergies, workspace, materials, and teacher’s directions, so do not treat any internet activity as automatically safe.
Can students do chemistry experiments at home without a lab?
They can complete some lower-risk learning activities at home when an informed adult supervises the setup, goggles are available, quantities are small, and the materials and disposal plan are clear. Home activities should not involve unknown chemicals, cleaners, flames, sealed reactions, or procedures that require professional equipment.
Do chemistry experiments help with chemistry tests?
They can help students connect an abstract idea to observable evidence, but an activity is not a replacement for reading, problem solving, or teacher feedback. Ask the student to explain the model, identify the variables, and solve a related course problem afterward. That transfer step is where a demonstration becomes study practice.
Should a student taste a food-based chemistry experiment?
No. Nothing should be tasted or eaten as part of science lab work. Keep food and drinks out of the workspace, use dedicated materials, and follow the activity’s cleanup and disposal directions.
Make chemistry practice safer and more useful
A good chemistry experiment does not need a dramatic reaction. It needs a clear question, a safe setup, careful observations, and an explanation that matches the evidence. If an activity exposes a concept gap, use that information to choose the next lesson rather than escalating the materials or the risk.
Call (404) 779-8999 to talk with Northside Tutoring about chemistry support.
Sources: American Chemical Society safety information; American Chemical Society gas-production lesson; National Science Teaching Association guidance on food-based lab safety.
Ready to begin?
Start tutoring with Northside.